If you’ve ever used the Internet, it’s a good bet that you’ve used the Domain Name System (DNS) even without realizing it. It’s like a phonebook of the Internet.
DNS translates domain names you type in your search bar (e.g. google.com, youtube.com, facebook.com) to IP addresses so browsers can load Internet resources.
There is a nice (and fun) comics to learn about “How DNS works” by DNSimple.
How to change your DNS settings on Windows?
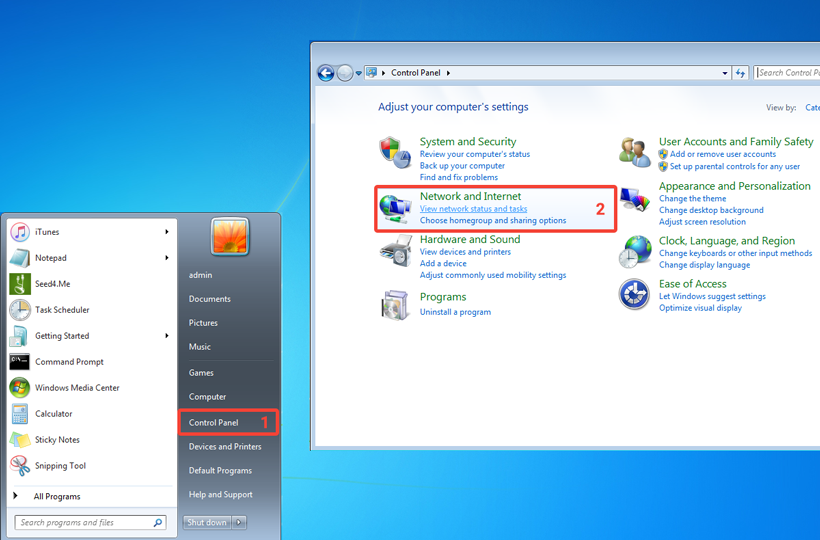
Step 1
Click on Windows icon, open Control Panel and select View network status and tasks.
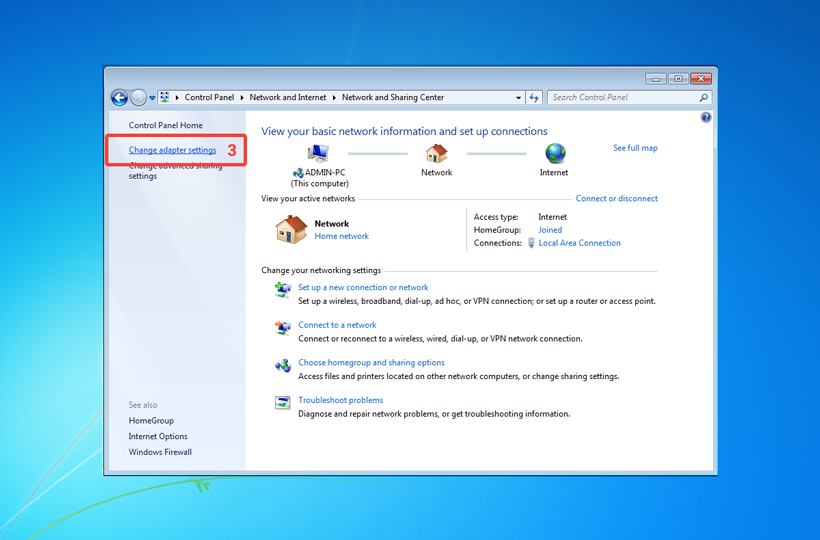
Step 2
Select Change adapter settings in the left sidebar.
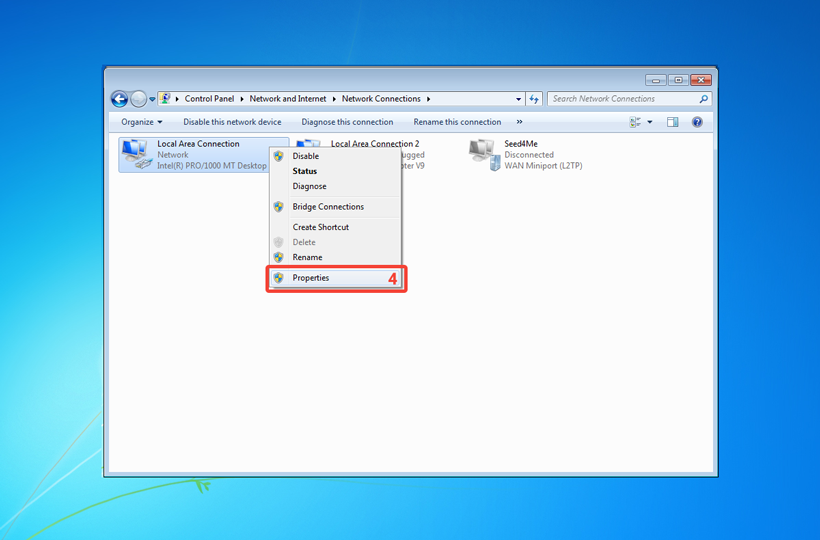
Step 3
Right-click on the Internet connection that you use (Ethernet or Wi-Fi) and select Properties in the pop up menu.
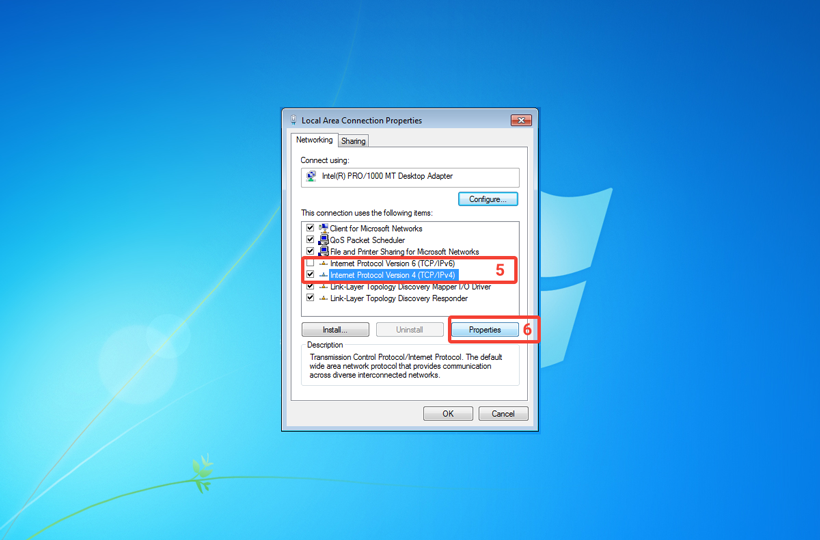
Step 4
First, disable Internet Protocol Version 6 (TCP/IPv6).
Second, select the point Internet Protocol Version 4 (TCP/IPv4) and click on Properties.
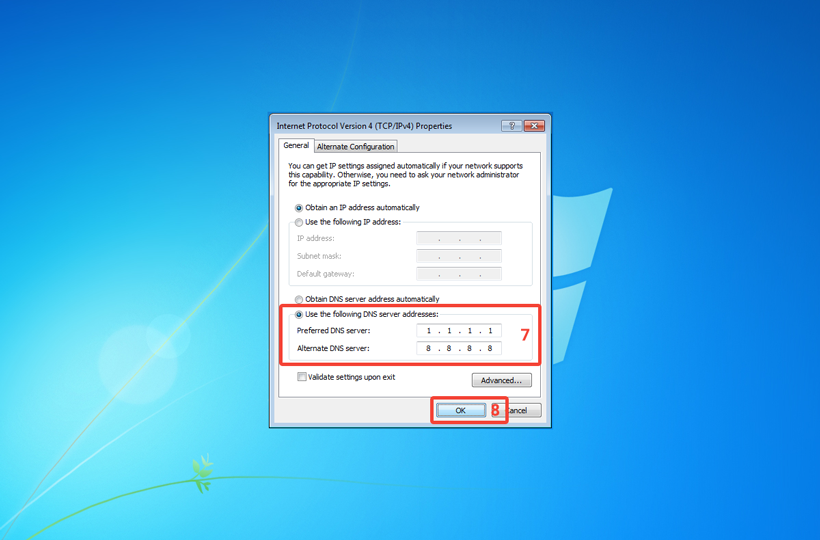
Step 5
Select the point Use the following DNS addresses and enter the DNS addresses (scroll down to see the recommended DNS servers) in the fields Preferred DNS server and Alternative DNS server.
Now click on OK button to save changes.
Which DNS server should you use?
– Cloudflare (the fastest one)
1.1.1.1
– OpenDNS
208.67.220.220
208.67.222.222
– GoogleDNS (it doesn’t work in China)
8.8.4.4
8.8.8.8
– YandexDNS (use if you are in Russia or China)
77.88.8.1
77.88.8.8
If you have any questions or problems, please contact us via our email or App.
We are always at your service,
Seed4.Me Support Team